
Find out how to set up or use your existing PayPal business account and link it to your Cashflows account
Important: To unlock the PayPal option in Cashflows Go, please email Customer Support requesting this. Then follow the guidance below to enable it.
To accept PayPal payments on a payment page that we’re hosting, you need a PayPal business account. If you already have your own PayPal business account, you just need to link it to your Cashflows account and then you can start accepting PayPal. See step 5 to set up a PayPal business account.
To link your PayPal business account to your Cashflows account:
1. Sign in to Cashflows Go.
Important: You need to sign in as an Owner to have permissions to make configuration changes in Cashflows Go.
2. From the Cashflows Go menu, select Configuration.
3. Select Payment Methods.
4. Select PayPal.
5. Select Connect PayPal account. If you don’t have a PayPal business account, follow the instructions to set one up.
Important: Be sure to activate your account by confirming the email address that you used to create your new PayPal account.
6. Sign in to PayPal with your PayPal user name and password.
When you return to Cashflows Go, you see the merchant ID that PayPal has assigned.
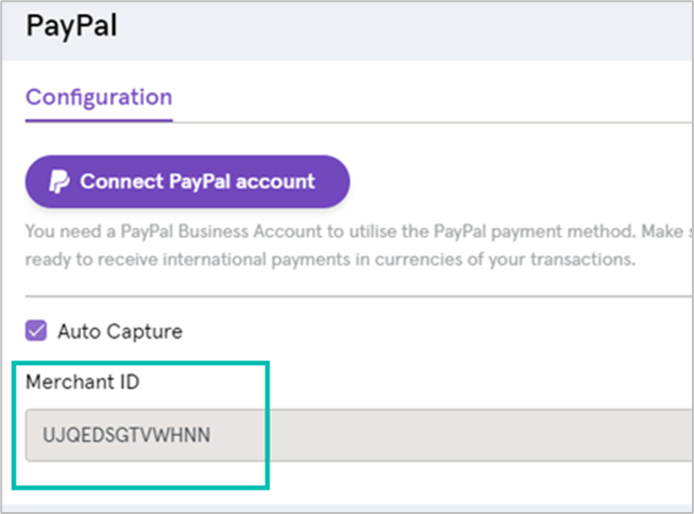
7. Select Save. PayPal is enabled. The changes take effect immediately and you can start accepting PayPal payments.
Tip: To see how PayPal looks on your payment page, you can use the Cashflows Go Virtual Terminal to create a payment link and paste it into a browser. Below is an example of this.
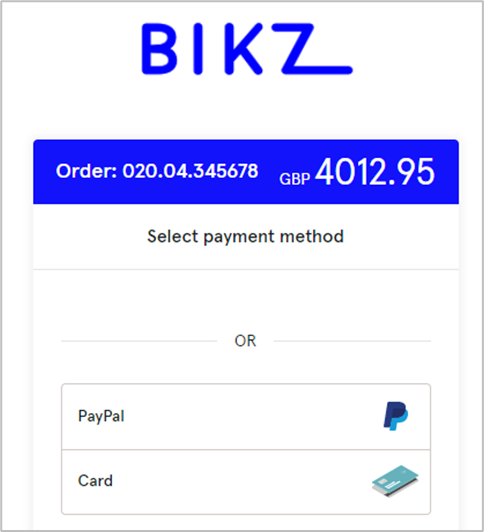
Important: Your account needs to be enabled for sending Payment Links. For more information about using payment links, download the Cashflows Go Virtual Terminal Guide (PDF) from the Cashflows Help Centre.